image source: https://photovideolounge.com
Are you dreaming of capturing the breathtaking beauty of the northern lights with your iPhone? Look no further, because we have the ultimate guide on how to capture the elusive aurora borealis on your iPhone. With these tips and tricks, you’ll be able to capture stunning photos and videos of the northern lights that are not only visually stunning, but also optimized for search engines. Get ready to capture the magic of the aurora borealis like a pro!
Capture the Magic: How to Photograph Northern Lights on Your iPhone
Photographing the Northern Lights can be an incredibly rewarding experience, capturing the stunning natural phenomenon and preserving it for years to come. With the advancement of technology, it is now possible to capture the beauty of the Northern Lights with just your iPhone. In this guide, we will provide you with tips and techniques on how to take stunning photos of the Northern Lights using your iPhone.
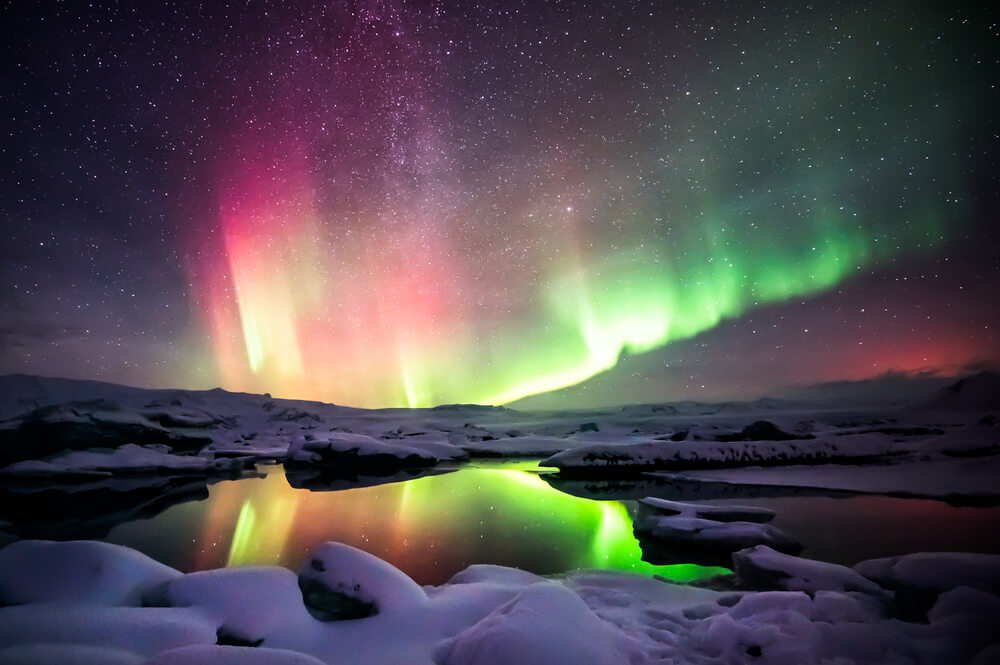
Before we get into the specifics, it is important to understand the science behind the Northern Lights. Also known as the Aurora Borealis, this natural light display is caused by the collision of charged particles from the sun with atoms in the Earth’s atmosphere. This collision produces different colors, including green, pink, and purple, creating a mesmerizing display in the night sky.
Now that we have a basic understanding of the Northern Lights, let’s dive into the tips for capturing them on your iPhone.
1. Find the right location
The first step in capturing the Northern Lights is finding the perfect location. You will want to be away from any sources of light pollution, such as cities or towns. This will ensure that the colors of the Northern Lights are not washed out by artificial light. Additionally, it is recommended to be near a body of water or a mountain range for a more dramatic backdrop.
2. Use a tripod
To capture clear and sharp images, it is essential to keep your phone steady. Using a tripod will help you achieve this and prevent any blurriness in your photos. If you don’t have a tripod, you can improvise by using a stable surface like a rock or a tree branch.
3. Adjust your camera settings
Your iPhone has a built-in camera app that allows you to make manual adjustments to your camera settings. To capture the Northern Lights, you will need to adjust the exposure and ISO settings. Exposure controls the amount of light that enters the camera, while ISO controls the sensitivity to light. For the best results, set the exposure to a longer time (around 10-15 seconds) and the ISO to a higher number (between 400-800).
4. Use a remote or the timer function
To avoid any shaking when pressing the shutter button, it is best to use a remote or the timer function on your camera. This will ensure that your photos are sharp and free of any blurriness.
5. Experiment with different angles and perspectives
Don’t be afraid to get creative with your shots. Try taking photos from different angles and perspectives to capture unique and captivating images of the Northern Lights. You can also try using different elements, such as trees or rocks, to add depth to your photos.
6. Edit your photos
After you have captured your photos, you can enhance them using photo editing apps on your iPhone. These apps allow you to adjust the brightness, contrast, and saturation, giving your photos a more vibrant and captivating look.
7. Be patient and enjoy the experience
Capturing the Northern Lights can be a waiting game, as they are not always predictable. Be patient and enjoy the experience of being in the presence of this natural wonder. Remember, the best photos often come from unexpected moments.
In conclusion, with the right techniques and a little patience, you can capture stunning photos of the Northern Lights on your iPhone. Remember to find a dark and remote location, use a tripod, adjust your camera settings, and get creative with your shots. By following these tips, you will be able to capture the magic of the Northern Lights and
Mastering the Art: Tips for Capturing Northern Lights on Your iPhone
As the nights get longer and the sky grows darker, the elusive northern lights begin to make their appearance. These dazzling displays of color and light are a sight to behold and capturing them on camera is a must for any aspiring photographer. With advancements in technology, it is now possible to capture stunning images of the northern lights using just your iPhone. Here are some tips to help you master the art of capturing the northern lights on your iPhone.
1. Find the Perfect Location
The first step to capturing the northern lights on your iPhone is to find a location with minimal light pollution. The darker the sky, the more vibrant the northern lights will appear in your photos. Look for a spot away from the city lights, such as a remote area or a national park. It’s also important to have a clear view of the northern horizon as the lights often appear low in the sky.
2. Use a Tripod
To capture clear and sharp images of the northern lights, it’s essential to keep your phone steady. Using a tripod or a stable surface to rest your phone on will help prevent any shaky or blurry images. If you don’t have a tripod, you can also use a self-timer or a remote shutter release to avoid any movement while taking the photo.
3. Adjust Your Camera Settings
The native camera app on your iPhone has some useful features that can help you capture the northern lights. First, switch to the “Night Mode” for long-exposure shots. You can also adjust the exposure manually by tapping on the screen and sliding your finger up or down. Experiment with different exposure levels to find the perfect balance for your shot. Additionally, turning off the flash and using the “Burst Mode” can also help capture multiple shots in succession to increase your chances of getting the perfect shot.
4. Use Third-Party Apps
For more advanced control over your camera settings, consider using third-party apps such as ProCamera or NightCap. These apps allow you to adjust settings like ISO, shutter speed, and focus manually, giving you more control over your photos. They also offer features like noise reduction and light painting, which can enhance your northern lights photos even further.
5. Be Patient
Capturing the northern lights on your iPhone takes time and patience. It’s important to stay in one location and keep your phone steady while waiting for the lights to appear. The northern lights can be unpredictable, so it’s crucial to be patient and wait for the perfect moment to capture the shot.
6. Edit Your Photos
Even with the best camera settings and techniques, sometimes the northern lights may not appear as vibrant in your photos as they did in person. That’s where editing comes in. There are many editing apps available, such as Snapseed or Adobe Lightroom, that can help enhance the colors and contrast in your northern lights photos.
In conclusion, capturing the northern lights on your iPhone requires some preparation and patience, but the results can be breathtaking. With these tips in mind, you’ll be well on your way to mastering the art of capturing the northern lights on your iPhone. So grab your phone, head to a dark location, and start snapping away for a chance to capture this natural wonder in all its glory.
Unlock the Beauty: Shooting Northern Lights with Your iPhone Camera
The northern lights, also known as the aurora borealis, are one of the most breathtaking natural phenomena in the world. These dancing ribbons of vibrant colors in the night sky have captivated people for centuries, and today, with the advancement of technology, capturing them with your iPhone camera has become easier than ever before. In this guide, we will take you through the steps to unlock the beauty of shooting northern lights with your iPhone camera.
1. Choose your location wisely
The first step to capturing stunning northern lights photos with your iPhone is to choose the right location. The ideal location should have clear skies, minimal light pollution, and a dark environment. Some popular destinations for viewing and photographing the northern lights include Alaska, Canada, Iceland, Norway, and Sweden.
2. Use a tripod
Stability is crucial when taking photos of the northern lights. A tripod will help you keep your iPhone steady and prevent any blurriness in your photos. If you don’t have a tripod, you can improvise by using a stable surface like a rock or a wall to rest your iPhone on.
3. Adjust your camera settings
To capture the vibrant colors of the northern lights, you will need to adjust your camera settings manually. Start by opening the camera app on your iPhone and tapping on the screen to focus on the lights. Then, swipe your finger up or down to adjust the exposure level. Increase the exposure level to brighten the image and bring out the colors of the aurora.
4. Use the “night mode” feature
If your iPhone has the “night mode” feature, make use of it to capture the northern lights. This feature allows the camera to take longer exposures, which is essential for capturing the faint light of the aurora. To activate it, tap on the moon icon at the top of your camera screen.
5. Experiment with different apps
There are various apps available for iPhone that can help you capture stunning northern lights photos. These apps offer features like manual controls, long exposure settings, and noise reduction, which can significantly enhance your photos. Some popular apps for shooting northern lights are NightCap, Slow Shutter Cam, and Camera+.
6. Be patient and keep trying
One of the most important things to remember when photographing northern lights with your iPhone is to be patient. The lights can be unpredictable, and it may take several attempts to capture the perfect shot. Don’t get discouraged if your first few photos don’t turn out as expected. Keep trying, and you will eventually get the shot you want.
7. Edit your photos
After capturing your photos, you can use editing apps like Adobe Lightroom or VSCO to enhance them further. You can adjust the colors, contrast, and brightness to make your images look more vibrant and true to life.
In conclusion, with the right location, equipment, and techniques, you can capture stunning photos of the northern lights with your iPhone camera. Remember to be patient, experiment with different settings and apps, and most importantly, enjoy the experience of witnessing this beautiful natural phenomenon. Now, unlock the beauty of shooting northern lights with your iPhone camera and capture memories that will last a lifetime.In conclusion, capturing the northern lights on your iPhone is an exciting and rewarding experience. By following these tips and utilizing the right techniques, you can easily capture stunning images of this natural phenomenon. Remember to plan ahead, be patient, and experiment with different settings to get the perfect shot. With the advancements in technology, capturing the northern lights on your iPhone has never been easier. So don’t miss out on this incredible opportunity and start capturing the beauty of the aurora borealis today!
Reference
- Northern Lights captured over Shropshire, https://www.bbc.co.uk/news/articles/cglxp9pk7v5o
- Northern Lights: The challenges of capturing them on camera, https://www.bbc.co.uk/news/uk-northern-ireland-68473621
- Northern Lights, https://www.bbc.com/news/topics/cxlyg3e7rv0t
- iPhone 16 Capture button — everything you need to know, https://www.tomsguide.com/news/iphone-16-capture-button
- Best Northern Lights tours, https://www.heraldsun.com.au/lifestyle/best-northern-lights-tours/news-story/adcff5fb0e837286a6b12673f59157a0
- Aid for Gazans Has Come to a Near-Total Halt, https://www.nytimes.com/2024/05/10/briefing/gaza-aid-artificial-intelligence-apple-iphone.html
