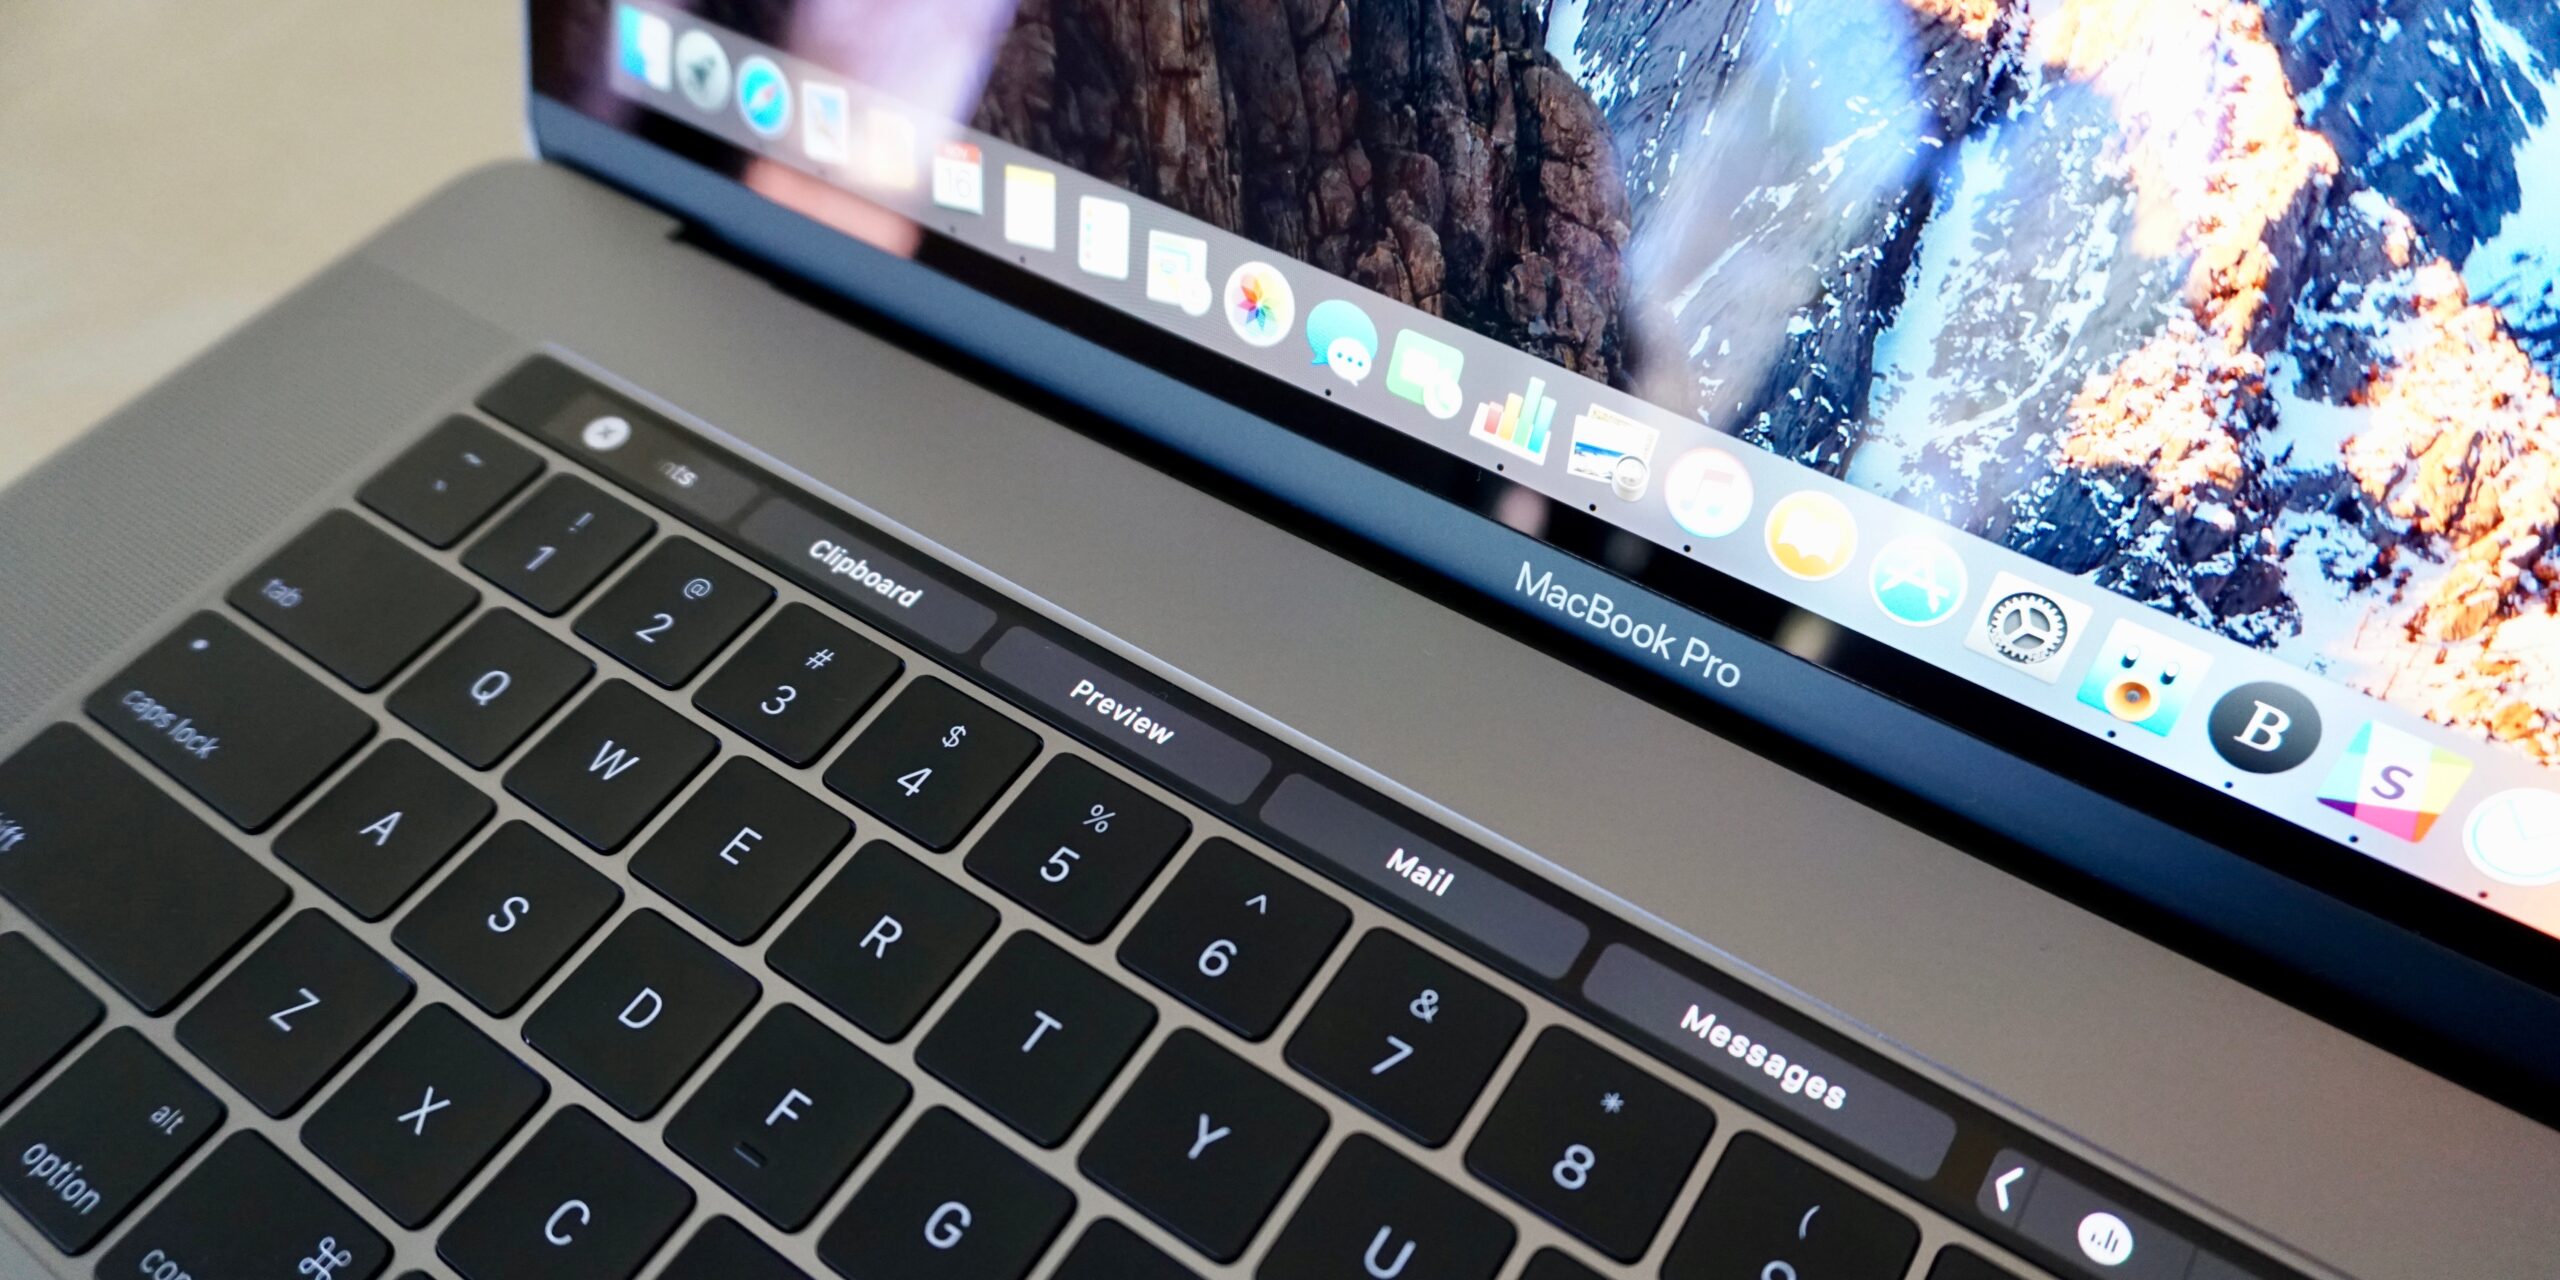
image source: https://truecload701.weebly.com
In today’s digital age, capturing and sharing screenshots has become an essential part of our daily routine. Whether it’s for work, school, or personal use, learning how to take a screenshot on your Mac can greatly improve your productivity and communication. In this guide, we will walk you through the steps on how to easily capture screenshots on your Mac, making it easier for you to share and save important images on your device. So, let’s dive in and discover the various methods on how to take a screenshot on Mac.
1) “Mastering the Art of Screenshot: A Step-by-Step Guide for Mac Users
Screenshots are a useful tool for capturing and sharing information on your Mac. They allow you to quickly and easily capture images of your screen, which can be useful for a variety of purposes, such as creating tutorials, reporting issues, or simply sharing something interesting with others. In this guide, we will walk you through the process of taking screenshots on your Mac, from basic shortcuts to advanced techniques.
Step 1: Understanding the Different Types of Screenshots
Before we dive into the specifics of taking screenshots on a Mac, it’s important to understand that there are different types of screenshots you can take. The three main types are: full screen, selected area, and window.
Full screen screenshots capture your entire screen, including the menu bar and dock. This is useful for capturing the overall look of your screen or for showing a specific app in use.
Selected area screenshots allow you to select a specific portion of your screen to capture. This is useful if you only want to capture a certain section of a webpage or app.
Window screenshots capture only the active window. This is great for documenting a specific window or app without any clutter from your desktop.
Step 2: Taking a Full Screen Screenshot
To take a full screen screenshot on your Mac, press and hold the Command + Shift + 3 keys simultaneously. You will hear a camera shutter sound and the screenshot will be automatically saved to your desktop as a .png file. You can also use this shortcut to take multiple screenshots in a row.
Step 3: Taking a Selected Area Screenshot
To take a selected area screenshot, press and hold the Command + Shift + 4 keys simultaneously. Your cursor will turn into a crosshair, allowing you to select the portion of the screen you want to capture. Once you release the keys, the screenshot will be saved to your desktop.
Step 4: Taking a Window Screenshot
To take a window screenshot, press and hold the Command + Shift + 4 keys simultaneously, then press the Spacebar. Your cursor will turn into a camera icon, allowing you to select the window you want to capture. Once you click on the window, the screenshot will be saved to your desktop.
Step 5: Using Preview to Edit Screenshots
After you have taken a screenshot, you can use the Preview app to edit it. Simply double-click on the screenshot to open it in Preview. From there, you can crop, annotate, add text, and more. Once you are satisfied with your edits, you can save the screenshot or copy and paste it into another document.
Step 6: Advanced Screenshot Techniques
There are a few other advanced techniques you can use to take screenshots on your Mac. You can change the default save location of your screenshots by using the Terminal app to enter a specific directory path. You can also add a time delay to your screenshots by pressing and holding the Command + Shift + 5 keys simultaneously.
Step 7: Troubleshooting
If you are having trouble taking screenshots, make sure that your keyboard is functioning properly and that you are pressing the correct keys. If you are still having issues, try restarting your Mac.
In conclusion, taking screenshots on a Mac is a simple and useful skill to have. Whether you need to capture an error message or share a funny meme with your friends, knowing how to take screenshots will make your life easier. With the steps outlined in this guide, you can become a master of the art of screenshot in no
2) “Capture Screenshots Like a Pro on Your Mac: Easy Tips and Tricks
If you’re a Mac user, you may already know that taking screenshots is a breeze. But did you know that there are even more ways to capture screenshots like a pro? In this article, we’ll share some easy tips and tricks to help you become a master at taking screenshots on your Mac.
1. Use Keyboard Shortcuts
The quickest and easiest way to take a screenshot on your Mac is by using keyboard shortcuts. Here are some of the most common shortcuts you can use:
– Command + Shift + 3: This captures the entire screen and saves it as a file on your desktop.
– Command + Control + Shift + 3: This captures the entire screen and copies it to your clipboard.
– Command + Shift + 4: This turns your cursor into a crosshair, allowing you to select a specific area of the screen to capture.
– Command + Control + Shift + 4: This turns your cursor into a crosshair, allowing you to select a specific area of the screen to capture and copies it to your clipboard.
– Command + Shift + 4 + Spacebar: This turns your cursor into a camera, allowing you to capture a specific window or menu.
2. Customize Screenshot Settings
Did you know that you can customize the settings for your screenshots? This is great for those who want to have more control over how their screenshots are saved and organized. To access these settings, go to Applications > Utilities > Terminal and type in the following command: defaults write com.apple.screencapture type followed by the file format you want to use (e.g. jpg, png, pdf, etc.).
You can also change the default location where your screenshots are saved by using the command: defaults write com.apple.screencapture location followed by the path to the desired location.
3. Use Preview to Edit Screenshots
After taking a screenshot, you may want to make some quick edits before saving or sharing it. Instead of using a third-party editing software, you can use the built-in Preview app on your Mac. Simply open the screenshot in Preview and use the tools in the toolbar to crop, annotate, or add text to your screenshot.
4. Use Third-Party Apps for Advanced Features
If you want even more control and features for your screenshots, there are plenty of third-party apps available for Mac users. Some popular options include Snagit, Skitch, and Monosnap. These apps offer features such as easy sharing, video recording, and advanced editing tools.
5. Use Grab for Timed Screenshots
If you need to take a screenshot of a menu or a dropdown, using the Grab app can come in handy. This app allows you to take timed screenshots, meaning you can set a timer and then open the menu or dropdown you want to capture. This ensures that the screenshot is taken at the exact moment you want.
6. Use Terminal Commands for Hidden Features
For advanced users, there are even more features you can access for screenshots using Terminal commands. Some of these include changing the default file name, hiding the cursor in screenshots, and disabling the shadow effect on screenshots.
Taking screenshots on your Mac is a simple and useful tool for capturing and sharing information. With these easy tips and tricks, you can elevate your screenshot game and become a pro at capturing images on your Mac.
3) “Maximizing Your Mac’s Potential: A Comprehensive Tutorial on Taking Screenshots
Screenshots are useful tools for capturing and sharing images of your computer screen. They can be used for a variety of purposes, such as documenting software bugs, creating tutorials, or simply sharing a funny meme with friends. In this tutorial, we will explore the different ways you can take screenshots on your Mac and how to make the most out of this feature.
1. Taking a screenshot of your entire screen
The simplest way to take a screenshot on your Mac is by capturing your entire screen. To do this, press and hold the Command + Shift + 3 keys simultaneously. You will hear a camera shutter sound and the screenshot will be saved on your desktop as a .png file. You can then open and edit the screenshot as needed.
2. Taking a screenshot of a selected portion
If you only want to capture a specific part of your screen, you can use the Command + Shift + 4 keys. This will turn your cursor into a crosshair, allowing you to select the portion of your screen you want to capture. Once you release the keys, the screenshot will be saved on your desktop.
3. Taking a screenshot of a specific window
Sometimes you may only want to capture a specific window, rather than your entire screen. To do this, press and hold the Command + Shift + 4 keys, then press the spacebar. Your cursor will turn into a camera icon and you can click on the window you want to capture. The screenshot will be saved on your desktop.
4. Taking a timed screenshot
If you need to capture a screenshot of a menu or an open submenu, a timed screenshot can be helpful. This gives you a few seconds to set up the menu before the screenshot is taken. Press and hold the Command + Shift + 5 keys and select “Options” from the toolbar. Here, you can choose to delay the screenshot by 5 or 10 seconds.
5. Using keyboard shortcuts for easy access
Remembering all these keyboard combinations can be overwhelming, but there are a few shortcuts that can make it easier. Pressing the Command + Shift + 5 keys will bring up a menu with all the screenshot options. You can also customize keyboard shortcuts by going to System Preferences > Keyboard > Shortcuts > Screenshots.
6. Editing your screenshots
Once you have captured your screenshots, you may want to edit them before sharing. You can do this by double-clicking on the screenshot icon on your desktop and opening it in the Preview app. Here, you can crop, resize, or add annotations to your screenshot.
7. Using third-party apps
While the built-in screenshot options on your Mac are sufficient for most users, there are also third-party apps available that offer more features. Some popular options include Lightshot, Snagit, and Skitch. These apps allow you to take screenshots with more flexibility and offer additional editing tools.
8. Organizing your screenshots
With the convenience of taking screenshots, it’s easy to end up with a cluttered desktop full of them. To keep your screenshots organized, you can create a separate folder for them or use the “Stacks” feature on your desktop to automatically group similar files together.
9. Sharing your screenshots
Once you have captured and edited your screenshots, you can easily share them with others. You can drag and drop the screenshot into an email or messaging app, or use the “Share” button in the Preview app to send it via AirDrop, email, or otherIn conclusion, knowing how to take a screenshot on your Mac is a useful skill that can enhance your productivity and make it easier to capture and share important information. By following these simple steps, you can easily take screenshots on your Mac and use them for various purposes. Remember to choose the right method based on your specific needs and preferences. With this knowledge, you can confidently navigate your Mac and capture any screen you need, making your work and online presence more efficient and visually appealing. So, don’t hesitate to use these tips and tricks to take screenshots on your Mac and take your digital experience to the next level.
