Welcome to our step-by-step guide on how to screenshot on Chromebook! Whether you’re a student, professional, or just someone who loves to capture and share moments on your Chromebook, learning how to take screenshots is an essential skill. With its increasing popularity and user-friendly interface, Chromebook has become a go-to device for many individuals. In this guide, we will walk you through the simple and easy process of taking screenshots on your Chromebook, so you can capture and save important information, memorable images, and anything else you want to keep for future reference or share with others. Let’s dive in and learn how to screenshot on Chromebook!
Mastering the Art of Taking Screenshots on Chromebook: Step-by-Step Guide
Screenshots are a useful tool for capturing and sharing information on your Chromebook. Whether you need to save an important piece of information, demonstrate a process, or report an issue, knowing how to take screenshots is an essential skill for any Chromebook user. In this guide, we will take you through the step-by-step process of mastering the art of taking screenshots on Chromebook.
Step 1: Understanding the Different Types of Screenshots
Before we dive into the how-to, it is important to understand the different types of screenshots you can take on your Chromebook. The two main types are full-screen and partial screenshots. A full-screen screenshot captures everything on your screen, including the taskbar and any open windows. A partial screenshot, on the other hand, allows you to select a specific area of your screen to capture.
Step 2: Taking a Full-Screen Screenshot
To take a full-screen screenshot on your Chromebook, follow these steps:
1. Press the “Ctrl” and “Window Switcher” keys at the same time. The “Window Switcher” key is located at the top row of your keyboard, between the “Full Screen” and “Brightness Down” keys. You can also use the “Ctrl” and “F5” keys if your Chromebook has a dedicated “Fullscreen” button.
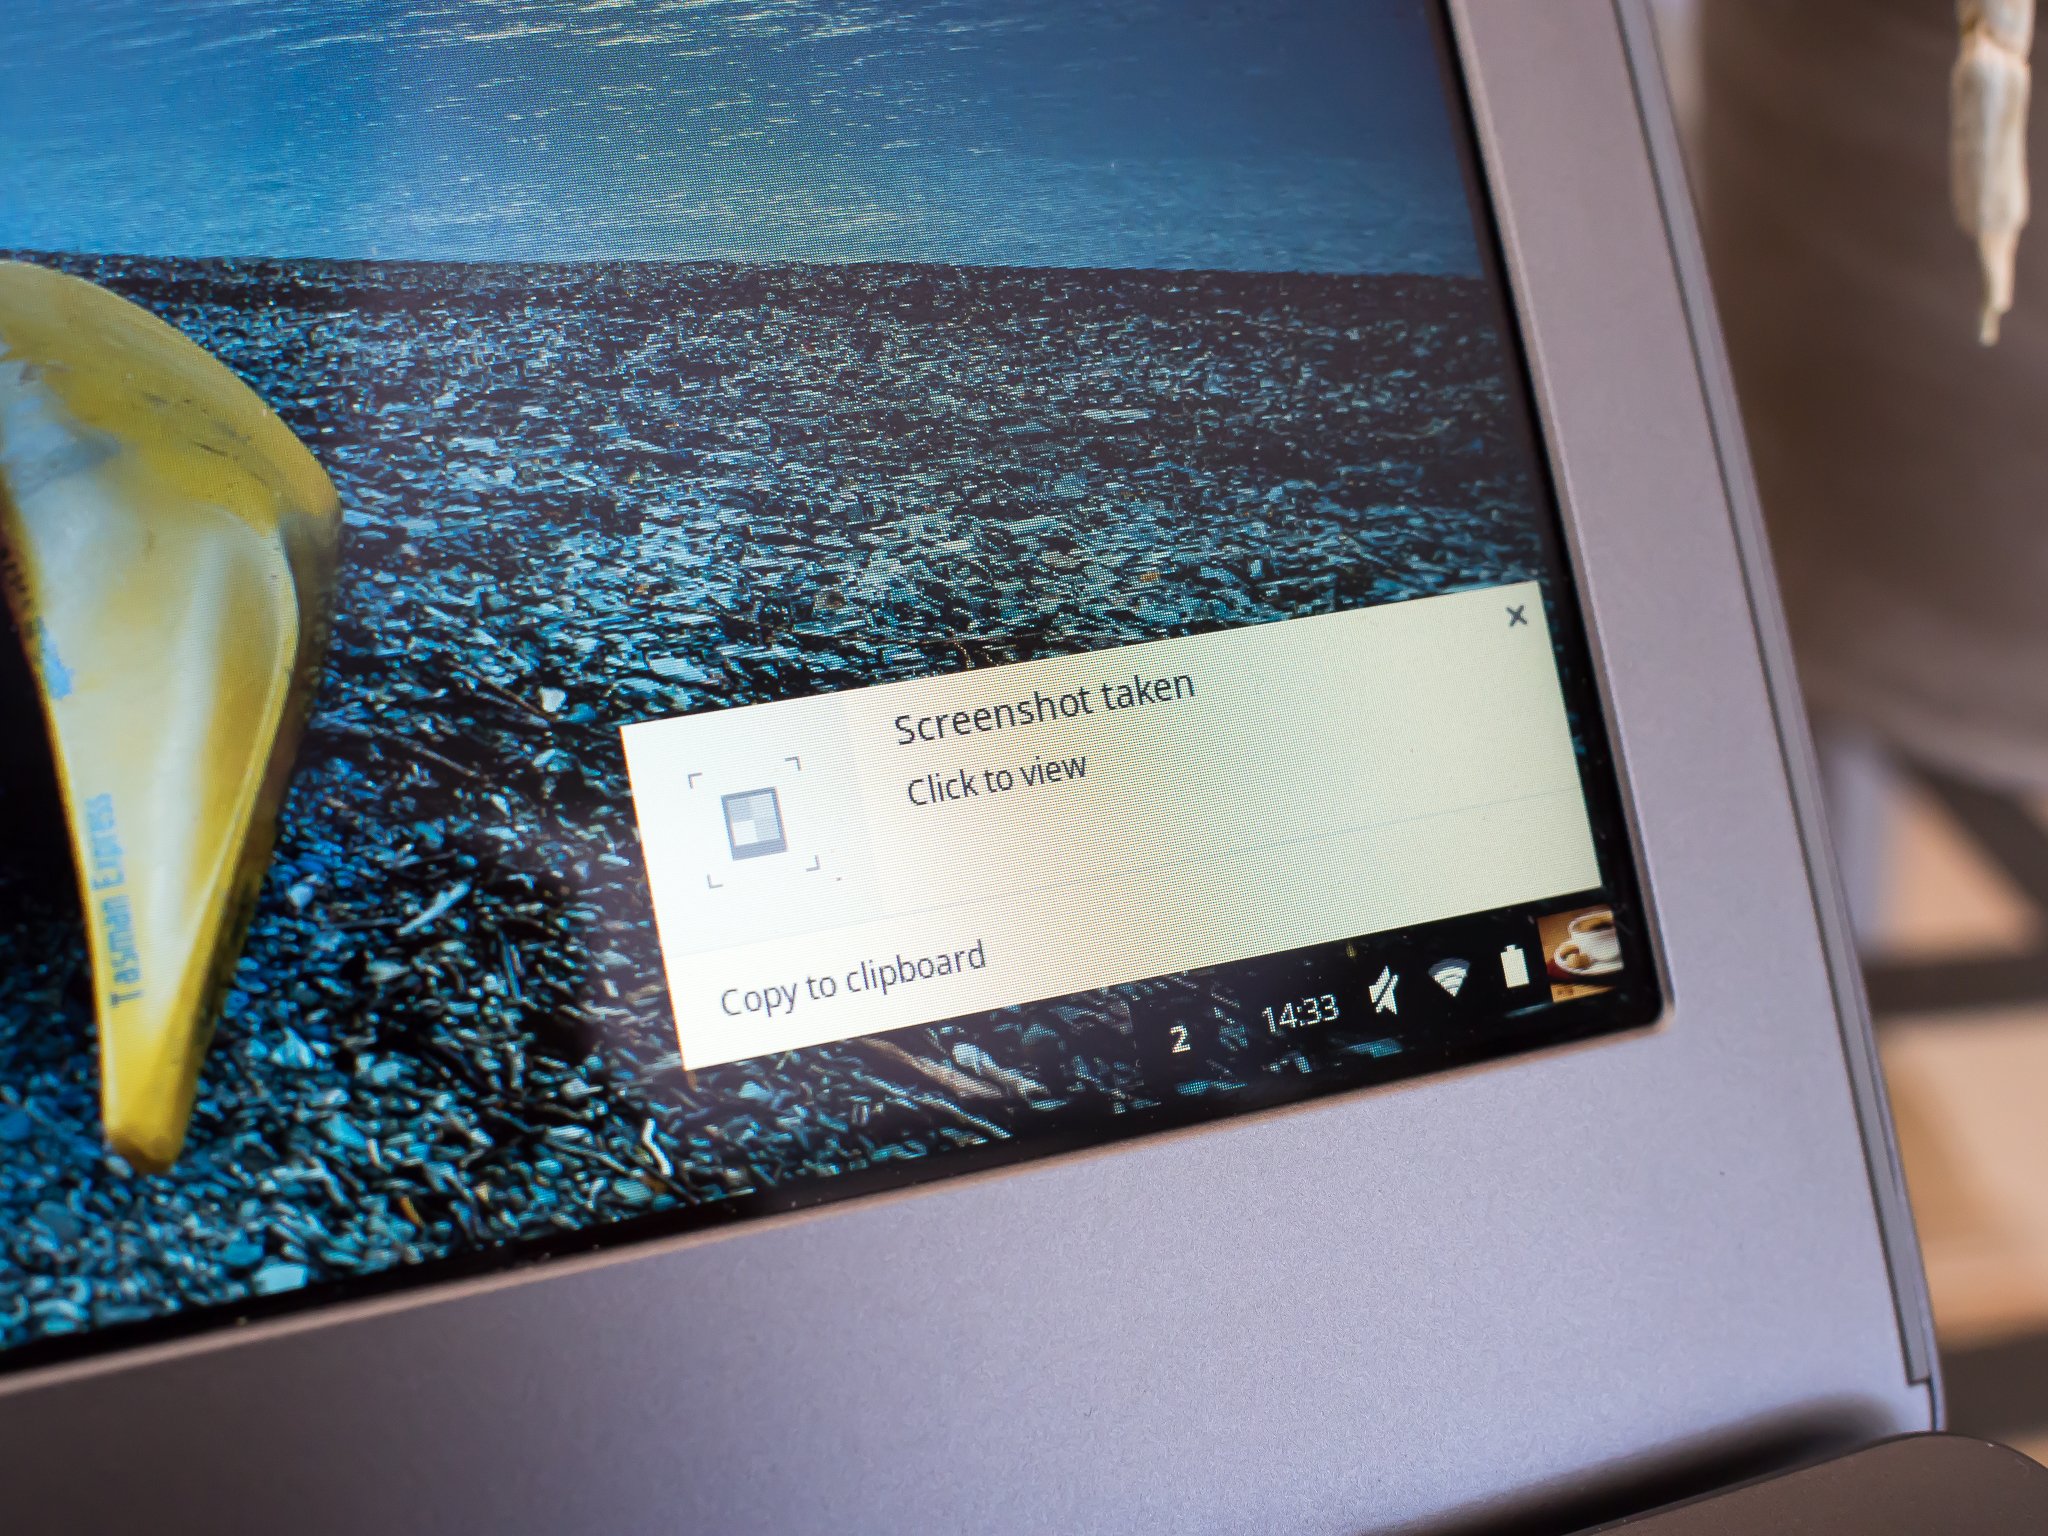
2. You will see a notification in the bottom-right corner of your screen confirming that the screenshot has been saved.
3. To access your screenshot, click on the notification or go to the “Files” app and navigate to the “Downloads” folder. Your screenshot will be saved as a PNG file with the date and time stamp.
Step 3: Taking a Partial Screenshot
If you only need to capture a specific area of your screen, follow these steps:
1. Press the “Ctrl”, “Shift”, and “Window Switcher” keys at the same time. Your cursor will turn into a crosshair.
2. Click and drag your cursor to select the area you want to capture. You can also use the arrow keys to adjust the selection.
3. Release the keys and your partial screenshot will be saved to the “Downloads” folder.
Step 4: Using the Screenshot Annotation Tool
Chromebook also offers an annotation tool that allows you to edit and add notes to your screenshots. To use this tool, follow these steps:
1. After taking a screenshot, click on the notification in the bottom-right corner of your screen.
2. In the notification, click on the “Annotate” button. This will open the screenshot in the “Files” app with the annotation tools at the bottom.
3. Use the tools to add text, draw, or highlight areas of your screenshot.
4. Once you are done, click on the “Save” button in the top-right corner to save your edited screenshot.
Step 5: Customizing Your Screenshot Settings
You can also customize your screenshot settings on Chromebook to suit your needs. To do this, follow these steps:
1. Open the “Settings” app and go to the “Device” section.
2. Under the “Keyboard” tab, scroll down to the “Screen capture” section.
3. Here, you can change the keyboard shortcut for taking screenshots, enable or disable the notification, and choose where your screenshots are saved.
4. You can also choose to enable the “Show floating screenshot button” option, which will add a button to yourIn conclusion, knowing how to screenshot on Chromebook can greatly enhance your productivity and make it easier to capture images and important information. By following the simple steps outlined above, you can easily take screenshots on your Chromebook and share them with others. This useful feature can be utilized in a variety of situations, from work to personal use. So why wait? Start using the screenshot function on your Chromebook now and streamline your digital workflow.
