image source: https://www.pinterest.com
If you’re a fan of perfectly cooked eggs, then learning how to poach an egg is a must-have skill in your culinary repertoire. Poaching an egg may seem daunting, but with the right technique and a few simple steps, you can achieve restaurant-quality results in the comfort of your own kitchen. In this guide, we’ll walk you through the process of poaching an egg, and share some tips and tricks to help you create the perfect poached egg every time. So, whether you’re looking to impress your brunch guests or simply elevate your breakfast game, keep reading to master the art of poaching an egg.
Master the Art of Poaching Eggs: A Step-by-Step Guide
Poaching eggs is a delicate cooking technique that results in perfectly cooked eggs with a soft, runny yolk and a firm white. It may seem intimidating at first, but with a little practice and some helpful tips, you can easily master the art of poaching eggs. In this step-by-step guide, we’ll walk you through the process of poaching eggs like a pro.
Step 1: Choose the Right Pot
The key to successful poaching is using the right pot. You want a pot that is wide enough to allow the eggs to spread out, but not too deep that they will sink to the bottom. A medium-sized saucepan or skillet with a diameter of 8-10 inches works well.
Step 2: Fill the Pot with Water
Fill your pot with about 3 inches of water and bring it to a gentle simmer over medium heat. Adding a splash of vinegar to the water can help the eggs stay together, but it is optional.
Step 3: Crack the Eggs into Separate Bowls
Cracking the eggs into separate bowls before adding them to the water will help prevent any broken yolks or shells from ruining your poached eggs. It also makes it easier to slide the eggs into the water.
Step 4: Create a Whirlpool in the Water
Using a spoon, create a whirlpool in the simmering water. This will help the eggs to form a nice, round shape and prevent them from spreading out too much.
Step 5: Gently Slide the Eggs into the Water
One at a time, gently slide the cracked eggs into the center of the whirlpool. The swirling water will help the eggs to stay together.
Step 6: Set a Timer
For a soft, runny yolk, poach the eggs for 2-3 minutes. If you prefer a firmer yolk, poach them for 4-5 minutes. Use a timer to ensure that your eggs are cooked to your desired level of doneness.
Step 7: Remove the Eggs from the Water
Using a slotted spoon, carefully remove the poached eggs from the water and place them on a plate lined with paper towels. This will help absorb any excess water and prevent your eggs from becoming soggy.
Step 8: Serve and Enjoy!
Your perfectly poached eggs are now ready to be served. They can be enjoyed on their own, on top of toast or English muffins, or as a delicious addition to salads or grain bowls.
Additional Tips:
– For a more evenly cooked egg, you can gently flip the eggs over after the first minute of cooking.
– If you are poaching multiple eggs, make sure to leave enough space between them in the pot to prevent them from sticking together.
– You can also add flavor to your poached eggs by seasoning the water with herbs, spices, or a dash of hot sauce.
– Leftover poached eggs can be stored in an airtight container in the fridge for up to 2 days. To reheat, place them in a bowl of hot water for a few minutes.
– Practice makes perfect! Don’t be discouraged if your first few attempts at poaching eggs don’t turn out perfectly. Keep trying and you’ll soon become a poaching pro.
With this step-by-step guide and some practice, you can master the art of poaching eggs and impress your friends and family with your cooking skills. So go ahead and give it
Egg-cellent Breakfast Ideas: How to Perfectly Poach an Egg
Poached eggs are a classic breakfast dish that can add a touch of elegance to any morning meal. However, achieving the perfect poached egg can be a bit tricky and intimidating for some home cooks. But fear not, with the right technique and a few tips, you can easily master the art of poaching an egg and impress your family and friends with a delicious and perfectly cooked breakfast.
To start, let’s talk about what poaching means. Poaching is a cooking method that involves gently simmering food in liquid, usually water or broth. In the case of poached eggs, the egg is cracked into the simmering water and cooked until the whites are set but the yolk is still runny.
Now, let’s get into the steps for poaching an egg:
Step 1: Choose the right pot
First and foremost, you’ll need a pot that is wide enough to hold the eggs without overcrowding them. A shallow pot or saucepan is ideal for poaching eggs, as it allows for more surface area for the eggs to spread out and cook evenly.
Step 2: Add vinegar to the water
Adding a small amount of vinegar to the water can help the egg whites coagulate faster, resulting in a neater and more compact poached egg. For every cup of water, add about a tablespoon of vinegar.
Step 3: Bring the water to a gentle simmer
It’s important to bring the water to a gentle simmer, not a rolling boil. A rolling boil can cause the egg whites to break apart, resulting in a messy poached egg. You want the water to be hot enough to cook the egg, but not so hot that it’s constantly moving.
Step 4: Crack the egg into a small bowl
Cracking the egg into a small bowl before adding it to the water can help prevent any shell pieces from getting into the water. It also allows for easier transfer into the water.
Step 5: Create a vortex in the water
Using a spoon, swirl the water in a circular motion to create a vortex. This will help the egg whites wrap around the yolk and form a more compact shape.
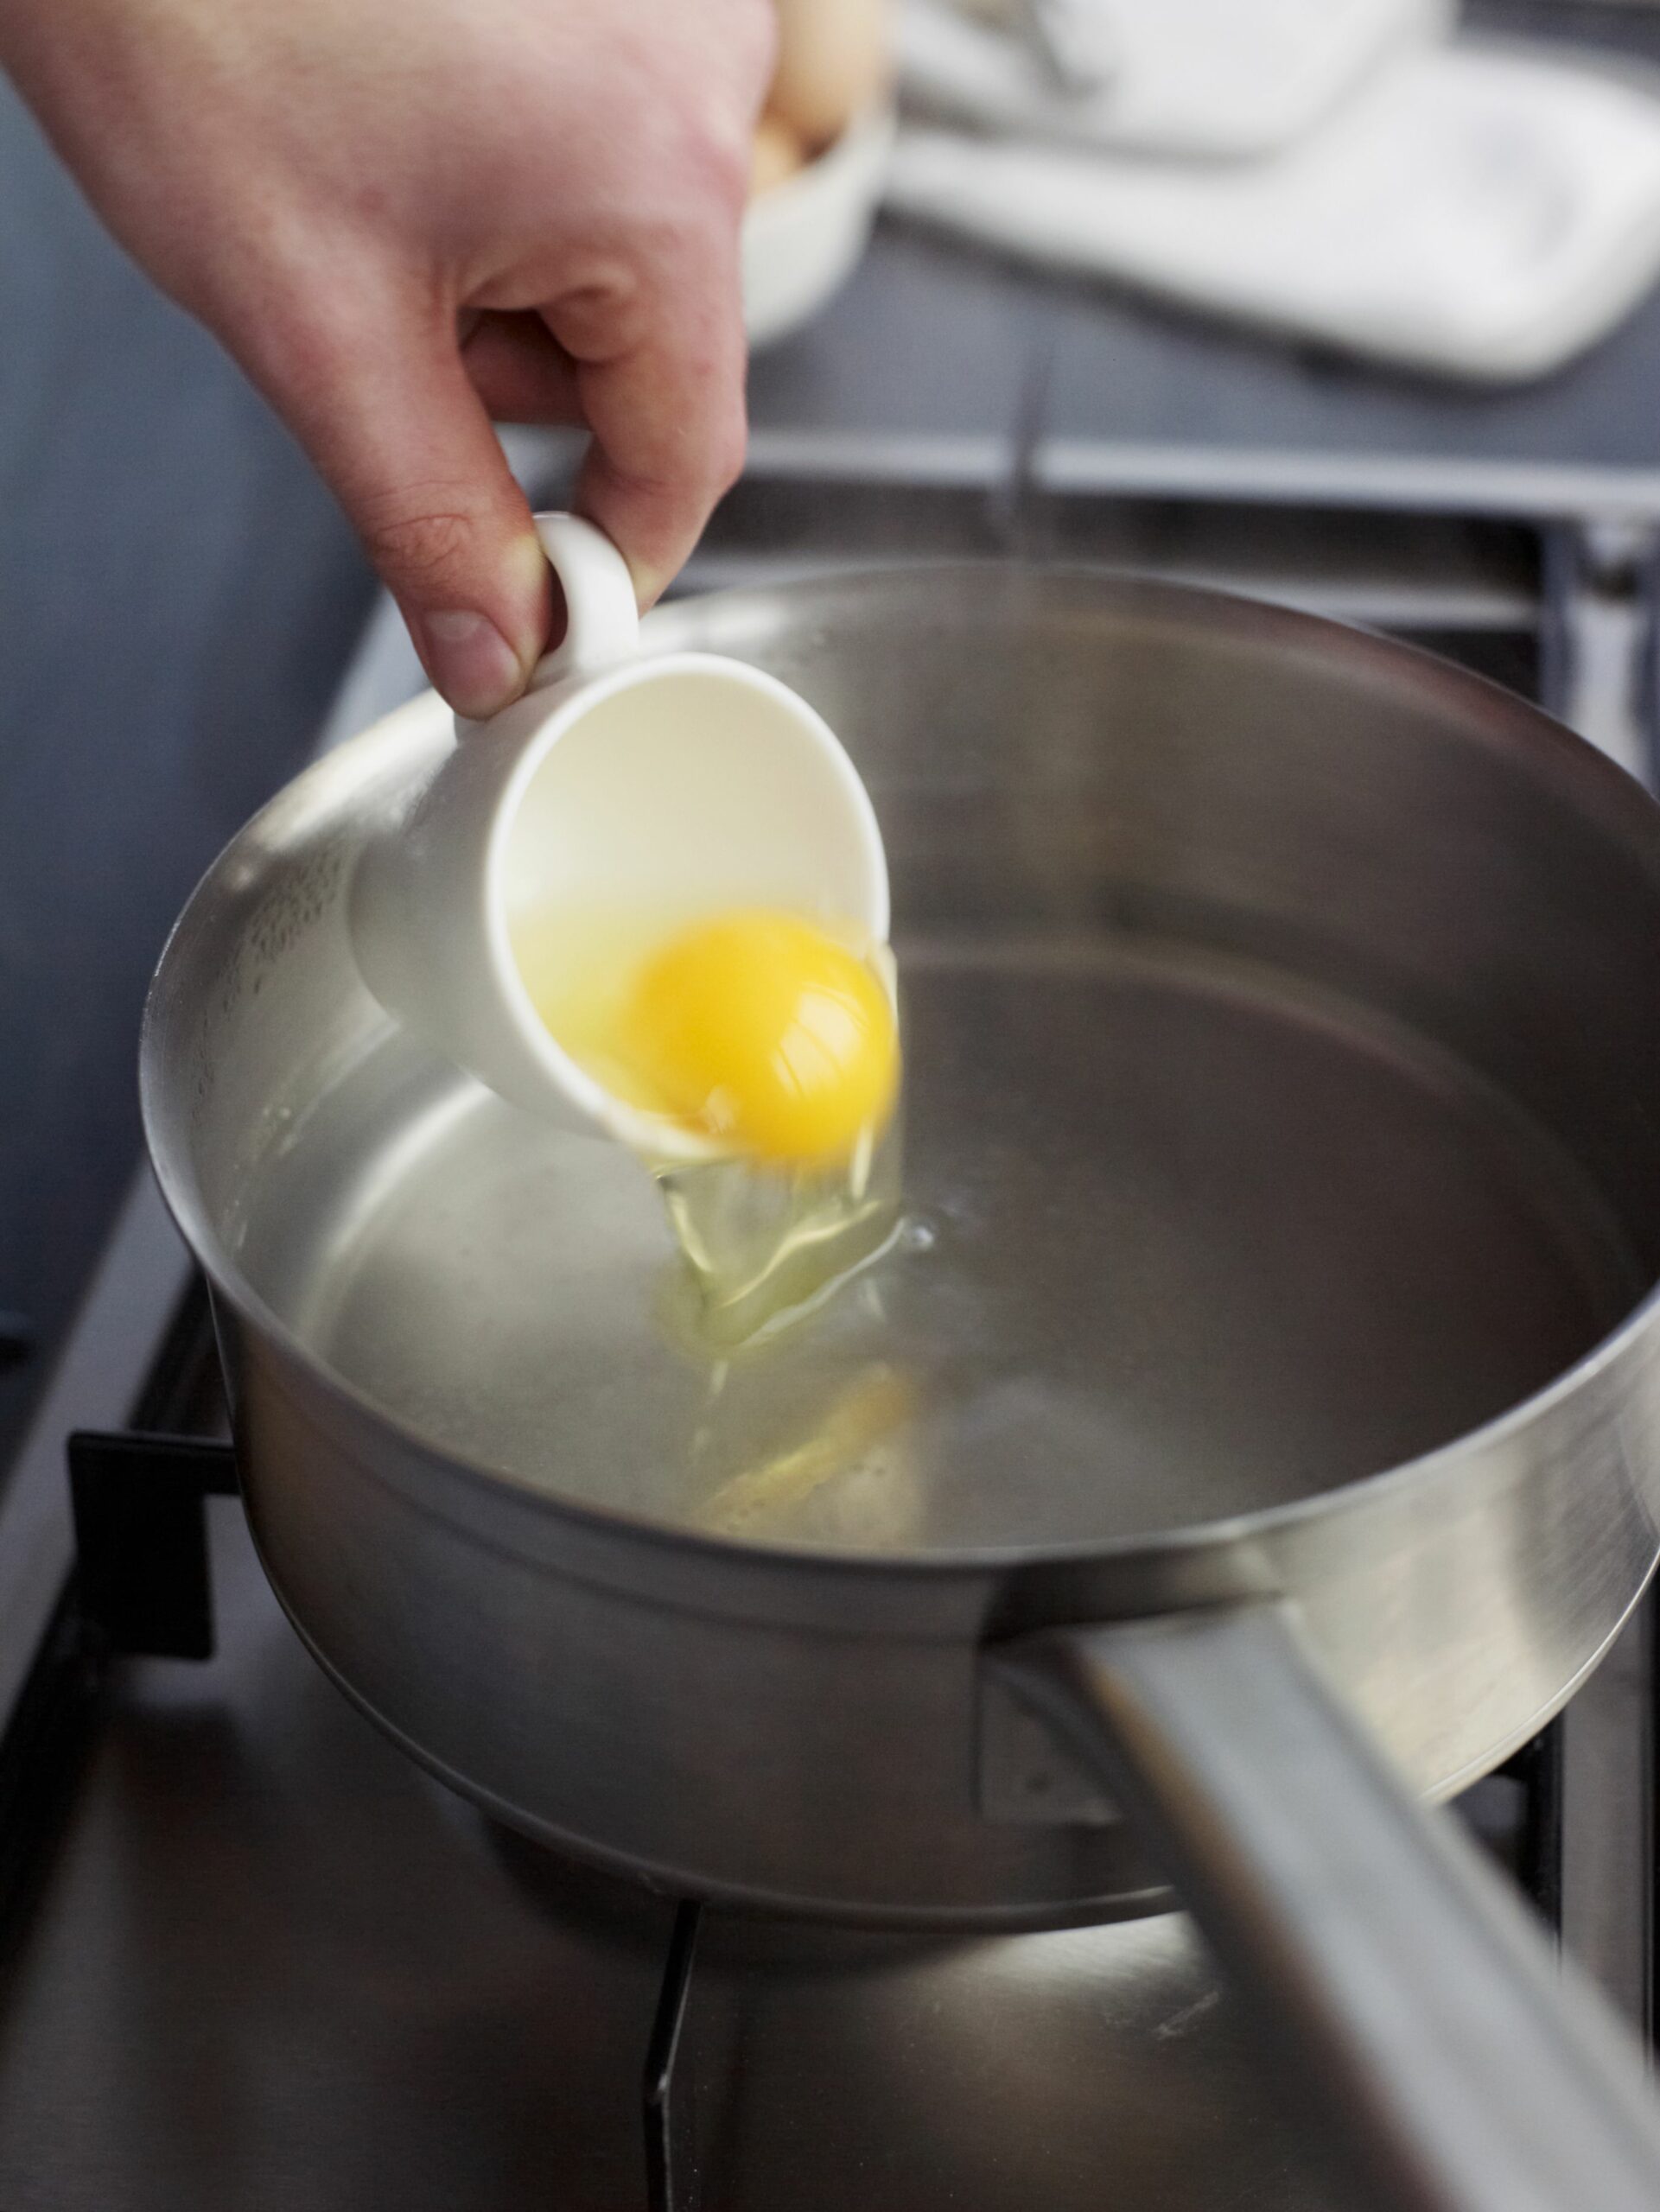
Step 6: Gently slide the egg into the water
Once the water is swirling, gently slide the egg into the center of the vortex. The swirling motion of the water will help keep the egg together.
Step 7: Cook for 3-4 minutes
Cook the egg for 3-4 minutes, depending on how runny you want the yolk. For a firmer yolk, cook for 4-5 minutes.
Step 8: Use a slotted spoon to remove the egg
Using a slotted spoon, carefully remove the egg from the water. Gently shake off any excess water before serving.
And there you have it, a perfectly poached egg! Now, let’s talk about some fun and tasty ways to enjoy your poached eggs:
1. Avocado toast with poached egg
Spread mashed avocado on a slice of toast and top with a poached egg. Add some salt, pepper, and red pepper flakes for a delicious and nutritious breakfast.
2. Eggs Benedict
This classic breakfast dish consists of a poached egg, Canadian bacon, and hollandaise sauce on top of an English muffin. It’s perfect for a special occasion breakfast.
3. Poached egg and smoked salmon bagel
Top a toasted bagel with cream cheese,
Egg-poaching 101: Tips and Tricks for the Perfectly Cooked Egg
Egg poaching is a simple yet elegant cooking technique that results in a perfectly cooked egg with a delicate, silky texture. It may seem intimidating at first, but with the right tools and techniques, you can easily master the art of egg poaching. In this guide, we will walk you through the basics of egg poaching, as well as some tips and tricks for achieving the perfectly cooked egg every time. So grab your eggs and let’s get cooking!
The Basics of Egg Poaching
First, let’s start with the basics. Egg poaching involves cooking an egg without its shell in simmering water, typically for 3-4 minutes. The result is a perfectly cooked egg with a runny yolk and set whites. To achieve this, you will need a pot, a slotted spoon, and some fresh eggs.
Fill your pot with about 2-3 inches of water and bring it to a gentle simmer over medium heat. You want the water to be hot but not boiling vigorously. Crack your egg into a small bowl or ramekin, and then carefully slide it into the water. Use your slotted spoon to gently nudge the whites around the yolk to help it keep its shape. Let the egg cook for 3-4 minutes, depending on how runny you want the yolk.
Once cooked, use the slotted spoon to carefully lift the egg out of the water and onto a paper towel-lined plate to absorb any excess water. Your egg is now ready to be enjoyed on its own or added to dishes like eggs benedict or avocado toast.
Tips for the Perfectly Poached Egg
Now that you know the basics, here are some tips and tricks for achieving the perfectly poached egg every time.
1. Use fresh eggs: Fresh eggs have firmer whites, making them easier to poach. If your eggs are not as fresh, you can add a little bit of vinegar to the water to help the whites hold together.
2. Strain the eggs: Before cracking your eggs into the water, strain them through a fine-mesh sieve to remove any excess liquid. This will prevent any stray strands of whites from spreading in the water.
3. Use a deep pot: Using a pot with high sides will help the eggs keep their shape as they cook. It also allows you to cook multiple eggs at once.
4. Add salt to the water: Adding a pinch of salt to the water can help the egg whites coagulate faster, resulting in a neater shape.
5. Create a whirlpool: Before adding your egg to the water, use a spoon to create a gentle whirlpool in the water. This will help the egg stay together and prevent any strands of whites from spreading.
6. Use a timer: Timing is crucial when poaching eggs. Use a timer to ensure your eggs are not over or undercooked.
7. Use the freshest eggs for dishes like eggs benedict: If you are making a dish like eggs benedict where the egg will be served with a runny yolk, use the freshest eggs you can find to ensure the yolk stays runny.
With these tips in mind, you are now equipped to poach the perfect egg every time. Practice makes perfect, so don’t be discouraged if your first few attempts are not perfect. Keep trying, and soon you will be a pro at egg poaching.
In conclusion, egg poaching isIn conclusion, mastering the art of poaching an egg is a simple and delicious way to elevate your cooking skills. By following these easy steps, you can create a perfectly poached egg every time. Impress your friends and family with this classic breakfast dish and enjoy the many health benefits of this protein-packed meal. So why wait? Start practicing and perfecting your poaching technique today!
Reference
- How to Make the Perfect Poached Egg in a Microwave — Ready in 1 Minute, https://www.yahoo.com/news/lifestyle/perfect-lazy-poached-egg-microwave-140902926.html
- Fried, soft-boiled, poached or boiled eggs, how is it healthier to eat them?, https://www.bezzia.com/en/soft-boiled-fried-eggs-poached-or-cooked-as-it-is-healthier-to-eat-them/
