Welcome to our guide on how to make buttermilk! If you’re a fan of this tangy and creamy ingredient, you may be surprised to learn that it’s actually quite easy to make at home. In this article, we’ll walk you through the simple steps to create your own homemade buttermilk, along with some tips on how to use it in your cooking and baking. So let’s get started and learn how to make delicious buttermilk in the comfort of your own kitchen.
Discover the Secret to Perfect Buttermilk: How to Make it at Home
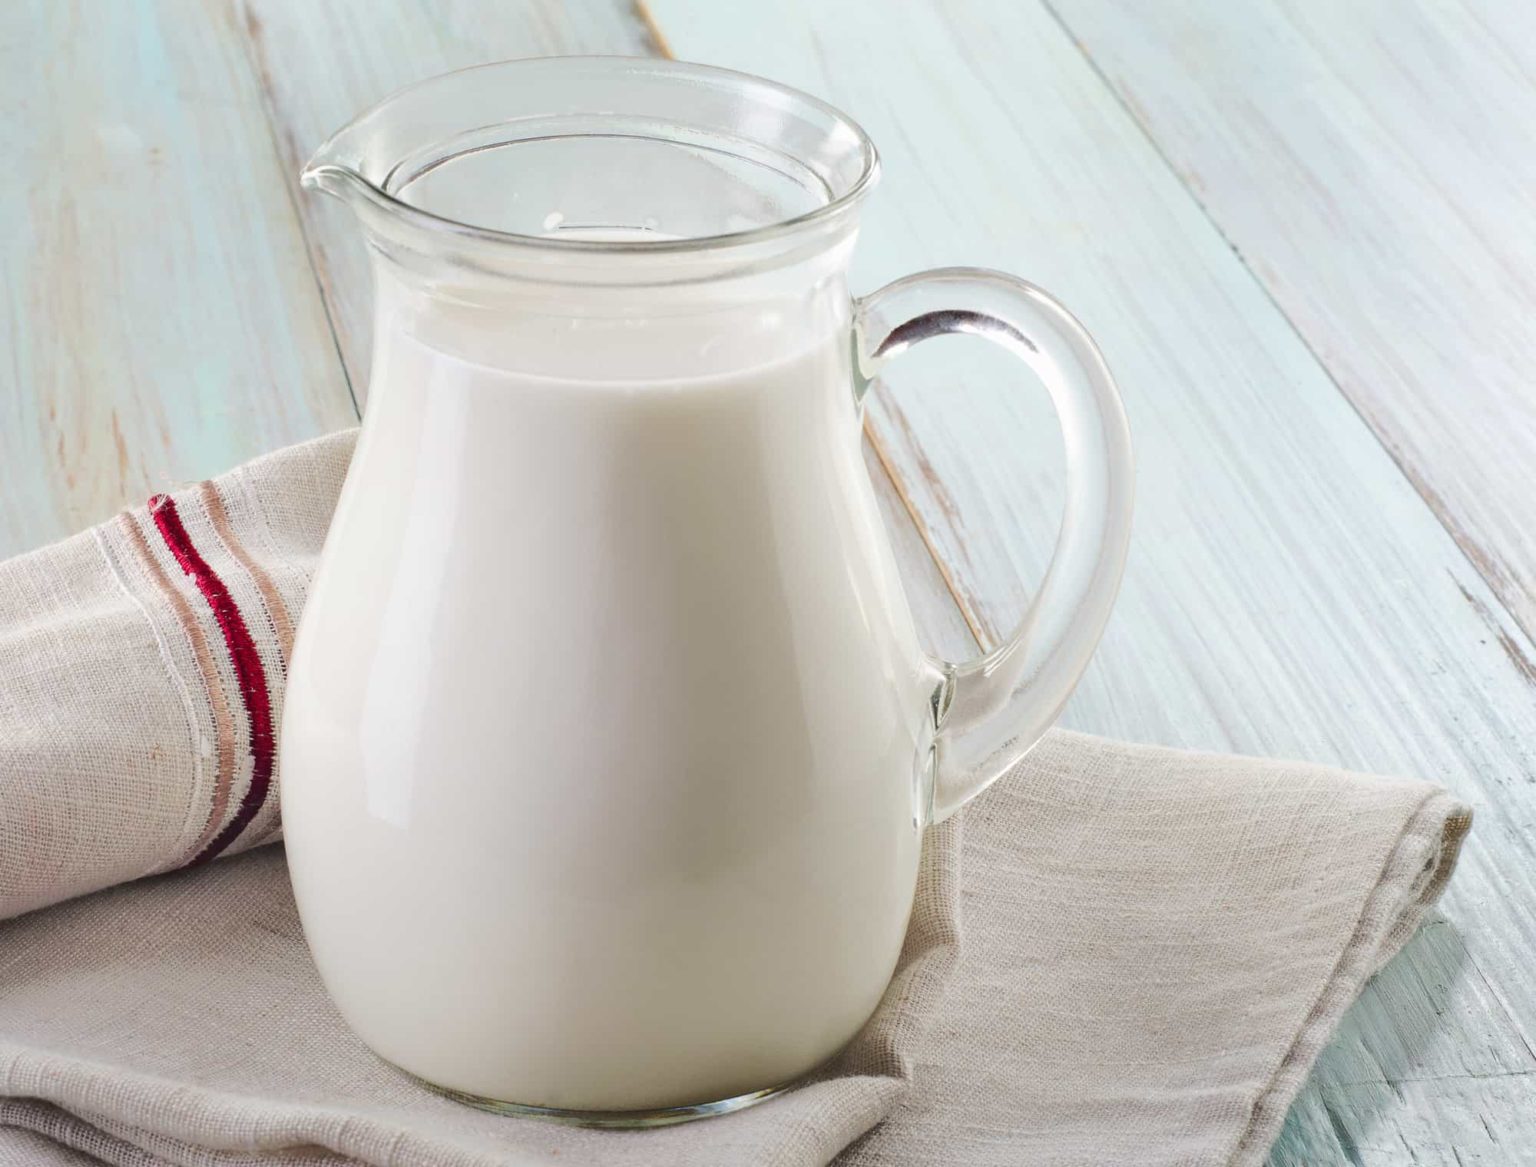
Buttermilk is a staple ingredient in many delicious recipes, from fluffy pancakes to tangy salad dressings. While it may seem like a mysterious and elusive ingredient, the truth is that you can easily make it at home with just a few simple steps. In this guide, we will reveal the secret to perfect buttermilk and teach you how to make it yourself.
First, it’s important to understand what buttermilk actually is. Contrary to popular belief, it is not the liquid leftover after churning butter. In fact, traditional buttermilk is a fermented dairy product made by adding special bacteria to regular milk. This process creates a tangy and thick liquid with a slightly sour taste, perfect for adding a unique flavor to your dishes.
Now, onto the process of making buttermilk at home. The key ingredient is, of course, milk. You can use any type of milk, from whole to skim, but keep in mind that the higher the fat content, the thicker and creamier your buttermilk will be. You will also need a starter culture, which can be purchased in the form of buttermilk culture or simply a small amount of store-bought buttermilk.
To make buttermilk, start by heating your milk to around 110 degrees Fahrenheit. This will activate the bacteria in the starter culture and allow it to ferment properly. Then, add a small amount of the starter culture to the milk and stir well. Cover the mixture and let it sit at room temperature for 12-24 hours. During this time, the bacteria will work its magic and turn the milk into delicious buttermilk.
After the fermentation process is complete, you can store your homemade buttermilk in the refrigerator for up to two weeks. You can also use it immediately in your favorite recipes, or add a splash to your morning cereal for a tangy twist.
But what if you don’t have access to a starter culture or don’t want to wait 12-24 hours for your buttermilk? Don’t worry, there is another way to make buttermilk at home. Simply add one tablespoon of white vinegar or lemon juice to one cup of milk and let it sit for 5-10 minutes. The acid in the vinegar or lemon juice will cause the milk to curdle and thicken, creating a buttermilk substitute that can be used in a pinch.
In conclusion, making buttermilk at home is a simple and rewarding process. With just a few ingredients and a little bit of patience, you can create a delicious and versatile ingredient that will elevate your cooking and baking to the next level. So next time you come across a recipe that calls for buttermilk, don’t hesitate to make it yourself and taste the difference. Your taste buds will thank you.
Step-by-Step Guide: How to Make Buttermilk from Scratch
Buttermilk is a versatile ingredient that is commonly used in baking, cooking, and even as a refreshing beverage. It is made by fermenting milk with lactic acid bacteria, giving it a tangy and slightly sour taste. While it is easily available in most grocery stores, you can also make it from scratch at home using just two simple ingredients – milk and an acid.
In this step-by-step guide, we will walk you through the process of making buttermilk from scratch. Whether you ran out of buttermilk or simply want to try making it yourself, this guide will help you achieve that tangy goodness in no time.
Step 1: Gather Your Ingredients
To make buttermilk, you will need one cup of whole milk and one tablespoon of acid. You can use either lemon juice or white vinegar as your acid of choice. Make sure to use fresh milk and not UHT (ultra-high temperature) pasteurized milk as it will not ferment properly.
Step 2: Measure Out the Milk
In a measuring cup, pour one cup of whole milk. Whole milk is recommended as it has a higher fat content, which will result in a thicker and creamier buttermilk. You can also use low-fat milk, but the consistency may be slightly thinner.
Step 3: Add the Acid
Next, add one tablespoon of your chosen acid (lemon juice or white vinegar) to the milk. Stir the mixture gently with a spoon to combine. You will notice the milk starting to thicken and curdle – this is the fermentation process happening.
Step 4: Let It Sit
Once the acid is added, let the mixture sit at room temperature for about 10-15 minutes. This will allow the milk to fully curdle and thicken.
Step 5: Stir and Check Consistency
After 10-15 minutes, give the mixture a quick stir. You should see that the milk has thickened and curdled even more. If the consistency is not thick enough, you can let it sit for a few more minutes.
Step 6: Use or Store
Your homemade buttermilk is now ready to use or store. If using immediately, you can use it in any recipe that calls for buttermilk. If storing, transfer it to an airtight container and refrigerate. It will keep for up to two weeks in the fridge.
Bonus Tip: To get a thicker and creamier buttermilk, you can add a tablespoon of heavy cream to the mixture before letting it sit.
Congratulations, you have successfully made buttermilk from scratch! Now you can enjoy the tangy goodness in your baked goods, dressings, and marinades. Experiment with different types of milk and acids to find your perfect combination. Happy cooking!
Master the Art of Homemade Buttermilk: A Comprehensive Guide on How to Make it
Buttermilk is a staple ingredient in many recipes, from fluffy pancakes to creamy dressings. While it may seem like an intimidating ingredient to make at home, it is actually quite simple and easy to master. In this comprehensive guide, we will take you through the step-by-step process of making homemade buttermilk, as well as share some tips and tricks to elevate your buttermilk game.
What is Buttermilk?
Buttermilk is a cultured dairy product that is traditionally made by churning cream into butter. The liquid that is left behind after the butter is extracted is known as buttermilk. It has a tangy, slightly acidic flavor and a thick, creamy consistency. Buttermilk is commonly used in baking and cooking to add moisture, tenderness, and a subtle tanginess to dishes.
Why Make Buttermilk at Home?
While you can easily purchase buttermilk from the store, making it at home has its advantages. First and foremost, homemade buttermilk is free from any additives or preservatives, making it a healthier option. Additionally, it is more cost-effective, as you can make a larger quantity at a fraction of the cost of store-bought buttermilk. Plus, you have the satisfaction of knowing exactly what goes into your buttermilk.
How to Make Buttermilk
Making buttermilk at home is a simple process that requires only two ingredients: whole milk and an acid. The acid can be in the form of lemon juice, vinegar, or cream of tartar. Here’s how to make it:
Ingredients:
– 1 cup whole milk
– 1 tablespoon lemon juice or vinegar OR 1 3/4 teaspoons cream of tartar
Instructions:
1. Pour the whole milk into a clean glass jar or container with a lid.
2. Add the lemon juice, vinegar, or cream of tartar to the milk and stir gently to combine.
3. Cover the jar with a lid and let it sit at room temperature for 5-10 minutes.
4. After 5-10 minutes, the milk should have thickened and curdled slightly. This is the buttermilk.
5. Give the buttermilk a good stir before using it in recipes.
6. Store any leftover buttermilk in the refrigerator for up to a week.
Tips for Making the Perfect Buttermilk
– For best results, use whole milk. You can also use low-fat milk, but the resulting buttermilk may not be as thick and creamy.
– Make sure your milk is at room temperature before adding the acid. Cold milk may not curdle properly.
– If you don’t have lemon juice, vinegar, or cream of tartar, you can also use a cup of plain yogurt or sour cream to make buttermilk.
– The longer you let the buttermilk sit at room temperature, the thicker and tangier it will become.
– If you need a larger quantity of buttermilk, simply double or triple the recipe.
– Homemade buttermilk may not have the exact same flavor as store-bought buttermilk, but it will still work well in recipes.
Ways to Use Buttermilk
Now that you have mastered the art of making homemade buttermilk, it’s time to put it to use! Here are some delicious ways to incorporate buttermilk into your cooking and baking:
– Buttermilk pancakes: Swap out the milk in your pancIn conclusion, learning how to make buttermilk is a simple and cost-effective way to elevate your cooking and baking game. By following these easy steps, you can create a delicious and versatile ingredient that adds a unique tanginess to your dishes. Not only is homemade buttermilk healthier and more flavorful, but it also reduces food waste by using up leftover milk. So why not give it a try and enjoy the benefits of making your own buttermilk at home. Your taste buds and wallet will thank you!
