image source: https://www.munchkintime.com
Welcome to our guide on how to dye eggs! Easter is right around the corner and what better way to celebrate than with some beautifully colored eggs. Whether you’re a beginner or an experienced egg-dyer, we’ve got you covered with all the tips and tricks on how to achieve the perfect dyed eggs. Get ready to create some vibrant and eye-catching designs that will impress your friends and family. So let’s get cracking and learn how to dye eggs like a pro!
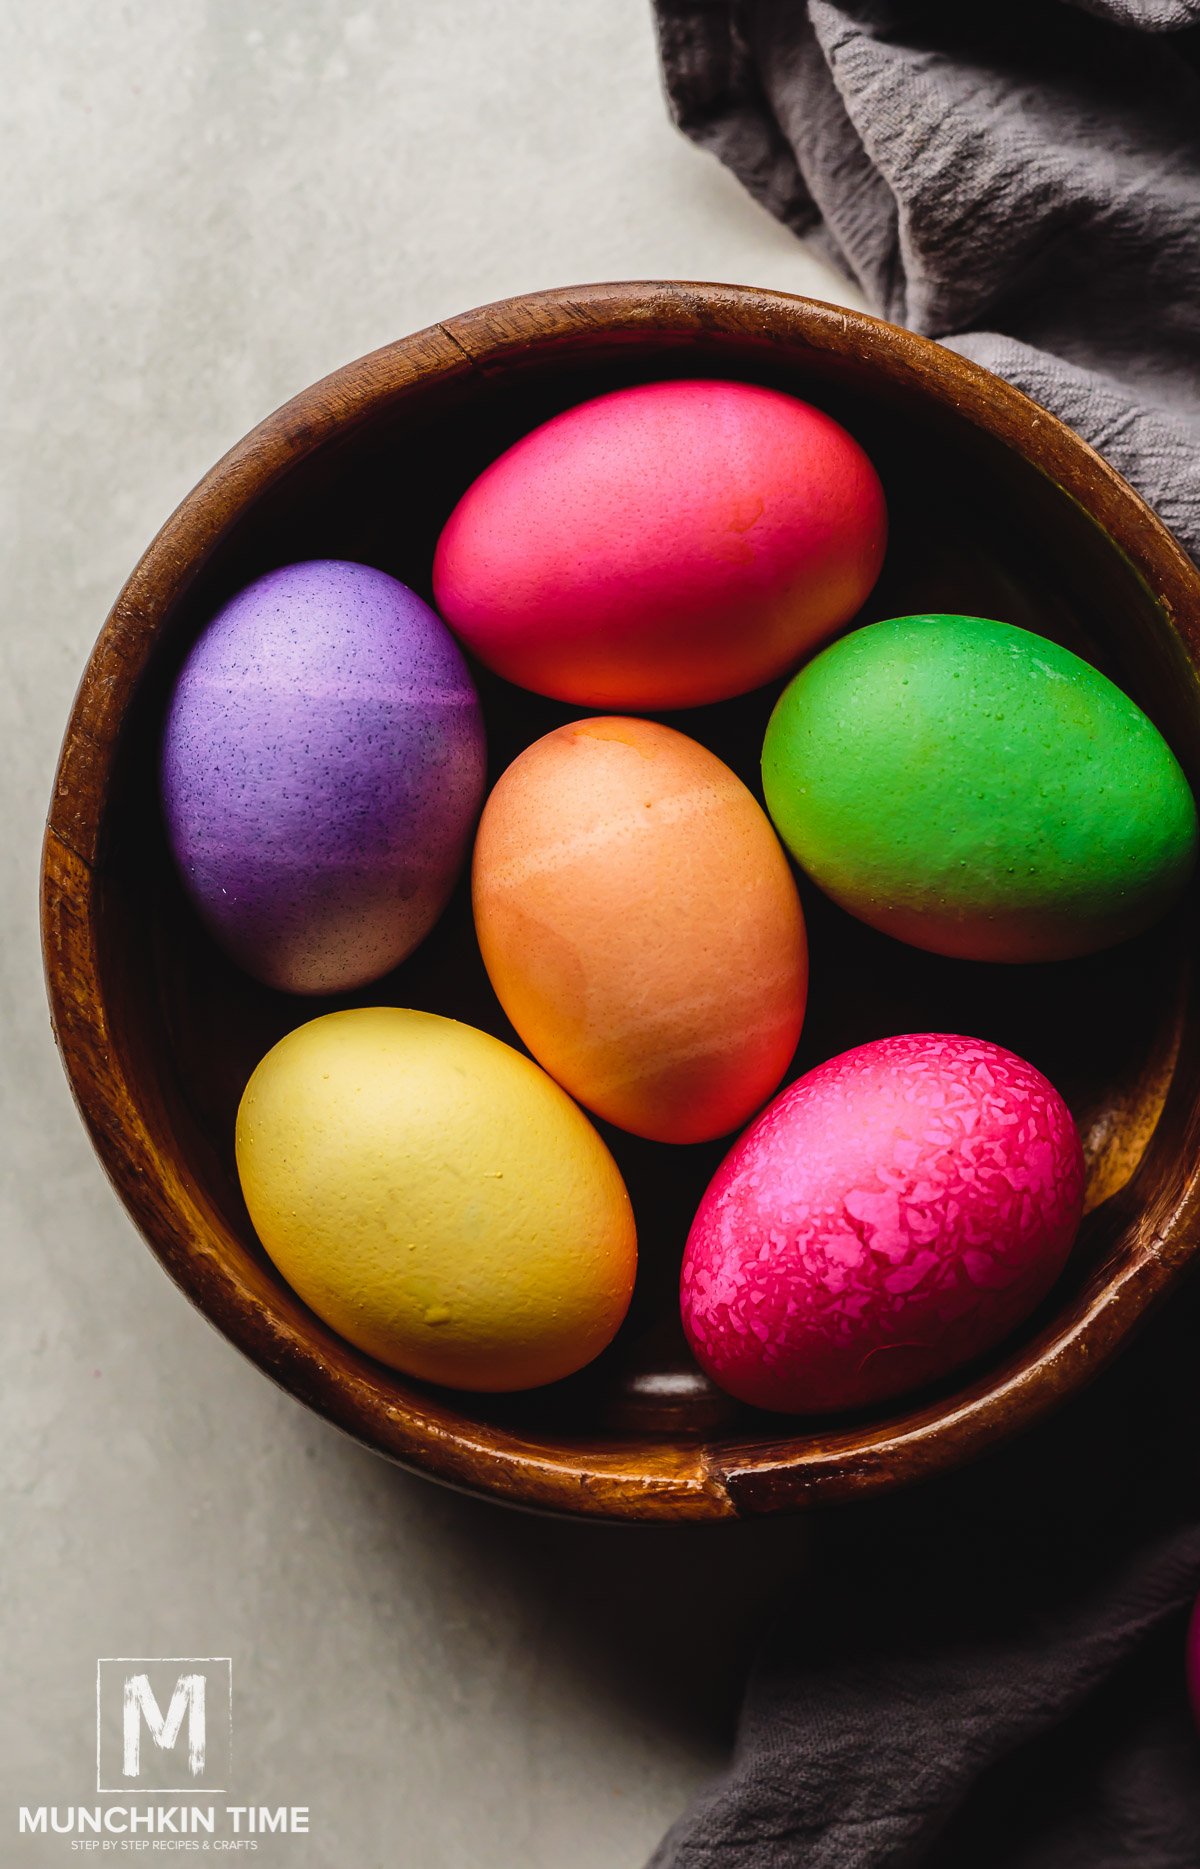
Brilliantly Colored Easter Eggs: A Step-by-Step Guide on How to Dye Eggs
Easter is a time for celebration and one of the most beloved traditions is decorating eggs. Brilliantly colored Easter eggs are a fun and festive way to add color to your home and celebrate the holiday. Whether you are a seasoned pro or a beginner, this step-by-step guide will provide you with all the information you need to create stunning and vibrant Easter eggs.
Step 1: Gathering Supplies
Before you begin dyeing your eggs, it is important to gather all the necessary supplies. You will need hard-boiled eggs, food coloring or egg dye, vinegar, bowls or cups, spoons, paper towels, and an egg carton or drying rack.
Step 2: Preparing the Dye
If you are using food coloring, mix 20 drops of food coloring with 1 teaspoon of vinegar in a bowl or cup. If you are using egg dye, follow the instructions on the packaging to mix the dye with water and vinegar. The vinegar helps the dye adhere to the eggshell.
Step 3: Dyeing the Eggs
Using a spoon, carefully place the eggs into the dye mixture. Leave them in the dye for at least 5 minutes, or longer for more vibrant colors. You can also use a spoon to gently rotate the eggs in the dye to ensure even coloring. For a more marbled effect, you can add a few drops of a different color dye onto the egg while it is still in the dye mixture.
Step 4: Removing the Eggs
Using a spoon, carefully remove the eggs from the dye and place them on a paper towel to dry. If you want to create a more intense color, you can let the eggs dry and then dip them in a second or third color.
Step 5: Drying the Eggs
Place the eggs on an egg carton or drying rack to allow them to dry completely. If you want to add designs or patterns to your eggs, you can use a white crayon or wax to draw on the eggs before dyeing them. The wax will resist the dye and create a unique design.
Step 6: Adding Shine (Optional)
If you want to add a shiny finish to your eggs, you can rub vegetable oil or a small amount of cooking oil onto the eggs with a paper towel. This will give them a glossy appearance.
Step 7: Displaying Your Eggs
Once your eggs are completely dry, you can display them in a basket or around your home for a beautiful Easter decoration. You can also use them for an Easter egg hunt or as table decorations for your Easter meal.
Tips for Success:
– Hard-boil the eggs before dyeing them to prevent cracking.
– Use white eggs for brighter and more vibrant colors.
– Use neon food coloring for a fun and bold effect.
– Wear gloves to prevent your hands from getting stained by the dye.
– Experiment with different dyeing techniques, such as using rubber bands or tape to create patterns.
– Have fun and be creative!
In conclusion, dyeing Easter eggs is a classic tradition that can be enjoyed by people of all ages. With this step-by-step guide, you are now equipped with the knowledge to create brilliantly colored Easter eggs that will impress your family and friends. Happy Easter!In conclusion, learning how to dye eggs can be a fun and creative activity for people of all ages. By following these simple steps, you can create beautiful and unique eggs to decorate and enjoy during special occasions or everyday. Remember to use natural and safe dyes, experiment with different techniques, and have fun with the process. With these tips, you can create stunning eggs that will impress your friends and family while also being mindful of the environment. So why wait? Start dyeing your eggs today and enjoy the colorful results!
Reference
- How to dye Easter eggs, volcano-style: An explosion of color with a splash of science, https://www.popsci.com/diy/volcano-eggs-dyeing/
- 4 Fun New Ways to Dye Easter Eggs, Plus How to Make Your Own Natural Dye, https://www.yahoo.com/lifestyle/4-fun-ways-dye-easter-130924520.html
- How to Clean Up Easter Egg Dye Stains (and Remove It From Your Hands), https://uk.finance.yahoo.com/news/clean-easter-egg-dye-stains-211554017.html
- Egg prices cool slightly from Easter 2023, https://fox4kc.com/news/egg-prices-cool-slightly-from-easter-2023/
- Egg-cellent for Easter, https://www.hngnews.com/deforest_times/news/local/egg-cellent-for-easter/collection_546e26be-ead7-11ee-ba5c-cb3897e44487.html
