image source: https://trendblog.net
Welcome to our guide on how to change your name on Facebook! Whether you’ve recently gotten married, changed your name for personal reasons, or simply want to switch things up, updating your name on Facebook is a simple and straightforward process. In this article, we will walk you through the steps to change your name on Facebook, ensuring that you maintain your online presence and SEO ranking. So, let’s dive in and learn how to change your name on Facebook in just a few easy steps.
Step-by-Step Guide on How to Change Your Name in Facebook
Changing your name on Facebook is a simple process that can be done in a few easy steps. Whether you’ve recently gotten married, legally changed your name, or just want to go by a different name on the social media platform, here’s a step-by-step guide on how to change your name in Facebook.
Step 1: Log into your Facebook account
The first step to changing your name on Facebook is to log into your account. This can be done by entering your email or phone number and password on the login page.
Step 2: Go to your profile settings
Once you’re logged in, click on your profile picture in the top right corner of the page. This will take you to your profile page. From there, click on the “About” section.
Step 3: Click on “Contact and Basic Info”
On your profile page, you will see a section labeled “Contact and Basic Info”. Click on this section to view and edit your basic information.
Step 4: Click on “Edit” next to your name
Under the “Contact and Basic Info” section, you will see your current name displayed. Click on the “Edit” button next to your name.
Step 5: Enter your desired name
A pop-up window will appear where you can enter your desired name. You can choose to change your first, middle, and last name or just one or two of them. You can also add a professional title or other name variations in the “Alternate name” field.
Step 6: Review the name change guidelines
Before proceeding, it’s important to review Facebook’s name change guidelines. Your name must follow their policies and cannot include symbols, numbers, unusual capitalization, or titles.
Step 7: Save your changes
Once you’ve entered your desired name and reviewed the guidelines, click on the “Review Change” button. Facebook will prompt you to confirm your name change. If everything looks correct, click on “Save Changes”.
Step 8: Verify your identity
In some cases, Facebook may ask you to verify your identity to ensure the name change is legitimate. This can be done by uploading a government-issued ID or other supporting documents.
Step 9: Wait for Facebook to review your name change
Once you’ve completed the previous steps, your name change request will be sent to Facebook for review. This process can take up to 24 hours, and you will receive a notification once your name has been changed.
Once your name change has been approved, go back to your profile page to confirm that your name has been updated. You can also check by searching for your name in the Facebook search bar.
Congratulations, you have successfully changed your name on Facebook!
Additional tips for changing your name on Facebook
– If you’re having trouble changing your name, make sure you are using your real name and not a nickname or alias.
– It’s important to note that changing your name on Facebook may not update your name on other connected apps or websites.
– If you’ve recently changed your name, it’s a good idea to let your friends and family know so they can update their contacts.
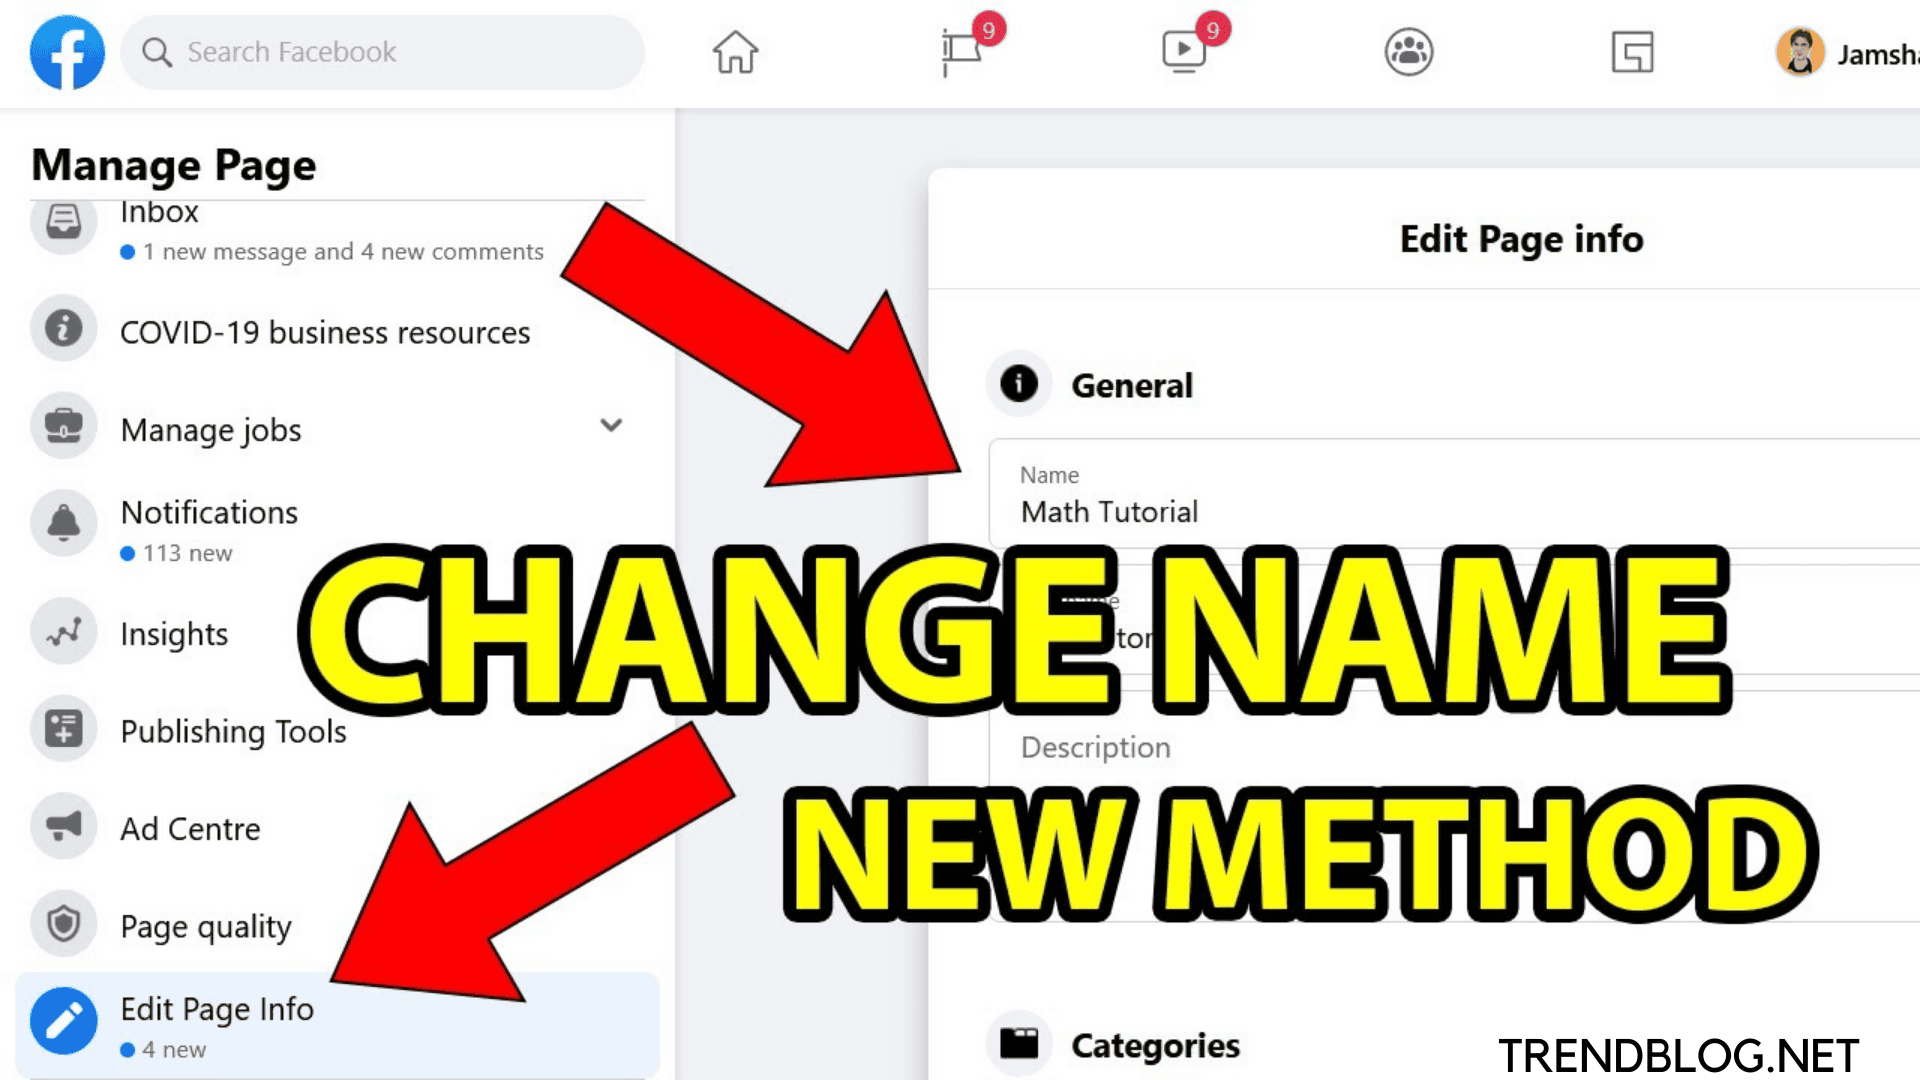
– If you have a Facebook Page for a business or other entity, you can also change the name by going to the “Settings” tab and clicking on “Edit” next to the Page name.
– Facebook may reject your name change request if they believe it violates their Community Standards or
Easily Change Your Name on Facebook with These Simple Steps
Facebook is a popular social media platform that allows users to connect with friends and family, share updates and photos, and more. If you have recently changed your name, you may be wondering how to update it on your Facebook profile. Fortunately, changing your name on Facebook is a simple process that can be done in just a few steps. In this guide, we will walk you through the process of changing your name on Facebook.
Step 1: Log into Your Facebook Account
The first step to changing your name on Facebook is to log into your account. This can be done by entering your email address or phone number and password on the Facebook login page. If you are already logged in, you can skip to the next step.
Step 2: Go to Your Profile Settings
Once you are logged into your account, click on the small arrow in the top-right corner of the Facebook page. This will open a drop-down menu. From the menu, click on “Settings.”
Step 3: Click on “Edit” next to Your Name
On the left side of the Settings page, you will see a menu. Click on “General” and then click on “Name” in the sub-menu. This will take you to the page where you can change your name.
Step 4: Enter Your New Name
On the “Name” page, you will see your current name displayed. To change it, click on the “Edit” button next to your name. This will open a pop-up window where you can enter your new name.
Step 5: Choose How Your Name Will Appear
In the pop-up window, you can enter your new first, middle, and last name. You can also choose how your name will appear on your profile by selecting the appropriate option from the drop-down menu next to “Display as.”
Step 6: Review and Save Changes
Before saving your changes, be sure to review them to make sure they are correct. Once you are satisfied with your new name and how it will appear, click on the “Review Change” button. Facebook will also give you a warning that you can only change your name every 60 days, so make sure you are happy with your new name before proceeding.
Step 7: Enter Your Password and Save Changes
After clicking on “Review Change,” you will be prompted to enter your password for security purposes. Once you have entered your password, click on the “Save Changes” button. Your name will now be updated on your Facebook profile.
Congratulations, you have successfully changed your name on Facebook! Your new name will now appear on your profile and in your friends’ news feeds. Keep in mind that it may take a few minutes for the changes to be reflected across all devices and platforms.
In conclusion, changing your name on Facebook is a quick and easy process that can be done in just a few steps. Whether you have recently gotten married, changed your name legally, or simply want to go by a different name, Facebook makes it simple to update your profile. Just remember to choose a name that follows Facebook’s community standards and that you are comfortable using for the next 60 days. Happy name changing!
Mastering the Art of Changing Your Name on Facebook: A Comprehensive Guide
Changing your name on Facebook may seem like a simple task, but there are certain steps and considerations that you should keep in mind to ensure a smooth and successful transition. Whether you’re getting married, going through a divorce, or just want a fresh start, mastering the art of changing your name on Facebook will save you time and frustration. In this comprehensive guide, we will walk you through the process and provide helpful tips along the way.
Step 1: Decide on your new name
The first step in changing your name on Facebook is deciding what you want your new name to be. This may seem obvious, but it’s important to have a clear idea of the name you want to use before starting the process. If you’re changing your name due to marriage or divorce, you may already have a new last name in mind. However, if you’re just looking for a new identity on Facebook, take some time to think carefully about what name you want to use.
Pro Tip: Keep in mind that Facebook has strict guidelines for what names are allowed on the platform. Your name must be your authentic identity and not a nickname or alias. Additionally, you can only change your name once every 60 days, so make sure you’re happy with your choice before proceeding.
Step 2: Update your name on your official documents
Before changing your name on Facebook, it’s important to update your name on your official documents, such as your driver’s license, passport, and social security card. This will make the process smoother and ensure that your name change is legally recognized. If you’re changing your name due to marriage or divorce, you may need a marriage certificate or divorce decree as proof of your name change.
Step 3: Go to the “Settings” tab on Facebook
Once you have decided on your new name and updated it on your official documents, it’s time to change your name on Facebook. Log into your account and click on the “Settings” tab in the top right corner of the screen. From there, select “General” and then click on the “Edit” button next to your current name.
Step 4: Enter your new name
A pop-up window will appear where you can enter your new name. Make sure to type it exactly as you want it to appear on your profile. You can also add a middle name or initial if desired. If you want to show your previous name as your middle name, check the box that says “Include this on my profile.”
Step 5: Review and save your changes
Before saving your changes, make sure to review your new name for any spelling or formatting errors. Once you’re satisfied, click “Review Change” and then “Save Changes.” Facebook may prompt you to confirm your password before making the change.
Step 6: Wait for Facebook to review your name change
After you have saved your changes, Facebook will review your name change before making it official. This process typically takes 24 hours, but it can take longer in some cases. During this time, your profile may display your previous name or your new name may be pending approval.
Step 7: Update your profile picture and cover photo
Once your name change is approved, it’s a good idea to update your profile picture and cover photo to reflect your new name. This will help your friends and followers recognize your new identity and avoid confusion.
Step 8: Notify your friends and followers
Finally, it’s important to notify yourIn conclusion, learning how to change your name in Facebook is a simple and straightforward process that can greatly benefit your online presence. By following the steps outlined in this guide, you can easily update your name on your Facebook profile and ensure that it is accurately reflected across all of your social media accounts. Don’t hesitate to make this change and enhance your personal branding on the world’s largest social media platform. Start today and take control of your online identity on Facebook!
